Make (fka Integromat)
Table of Contents
Integration overviewIntegration directionsSign up for Make Connecting Lob to Make Connecting Lob with other services Creating ScenariosBuilding ScenariosSharing ScenariosSupport informationIntegration overview
Make (formerly known as Integromat) is a free online automation tool that connects apps and automates manual workflows by using an easy to use, no-code, visual builder. With Make, you can quickly connect your favorite apps, services, and devices with each other to automate your custom workflows and save time - without needing to know how to code or hire a developer.
- Create Scenarios (no-code workflows) that connect Lob with hundreds of popular apps & services
- Allows you to create your own custom app through the Developer Platform
- Supports functions in the same manner as Excel
- Choose whether to retrieve data from the past or dynamically after activation to inform your Scenarios
- Best fit for teams that are sending small - medium sized mail campaigns (<1,500 per run)
- Sign up for a free Make account to create custom workflows or use prebuilt Scenarios
Integration directions
Make's platform allows users to build Scenarios by connecting Modules. By linking together multiples Modules of your favorite apps/services, you can easily create a Scenario that will automate data transfers between apps and subsequent workflows.
Integration occurs in three easy steps:
Sign up for Make
- Navigate to Make's website at https://www.make.com/en/
- Create an account by clicking on the Sign Up button on the top right of the screen
- Start with a free developer’s account, or sign up for a subscription level that suits your needs
Connecting Lob to Make
- Log in to your Lob and Make accounts
- In the Make dashboard, click on "+ Create a new Scenario" button at the top right corner of the home screen
- Search for "Lob" in the app directory and hit "Continue"
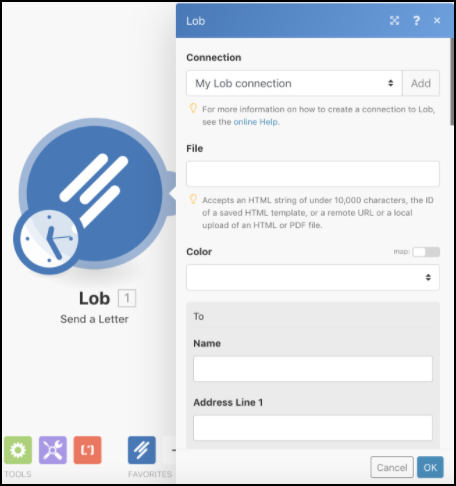
- In the visual Scenario builder, click on the Lob icon and select the action you’d like to take from the drop down menu
- Example actions: Send a letter or postcard, verify an address, make an API call
- In the dropdown, click on “Add” to name your connection, add your Lob API keys, and click “Continue”


- Use your Test Lob API Key initially to ensure that everything is working as expected, then switch to your Live API Key later to send live mail
- Use your Test Lob API Key initially to ensure that everything is working as expected, then switch to your Live API Key later to send live mail
- Once the connection is completed, finish building your Scenario or browse pre-built Scenarios to leverage

- Once you've tested your first Scenario, switch the API key to the Live key and begin sending physical mail!
Use pre-built Lob modules
Here are five popular Modules (functionality clusters) to automate your Lob Print & Mail and Address Verification workflows:
- Create a Letter: Takes your API key, to/from address data, creative data (HTML or PDF), and Mail Class
- Create a Postcard: Takes your API key, to/from address data, creative data (HTML or PDF), and Mail Class
- Verify a US Address: Takes your API key and address data
- Verify an International Address: Takes your API key and address data
-
Send a Generic API Request to Lob: Takes your API request payload
Connecting Lob with other services
If you are using online apps like Google Drive or other app/services to store your customer data and would like to import them into Lob to automate your mail sends, Make can connect your online apps to Lob.
For example, to connect Google Drive to Make:
- Create a Make account
- Using the Google Developers Console, create a new project.
- Create credentials for the new project, adding Make to the project’s Scope and allowing external users
- Create the application
- Retrieve Client ID and Secret
- Use ID and Secret to establish Make connection
You can find more information about connecting Make to Google Services in this Make tutorial.
Creating Scenarios
Building Scenarios
Watch how you can easily connect addresses stored in Google Sheets to Lob with Make to send a simple postcard in three steps:
For more information on how to build custom Scenarios or create Connections, visit Make's Help Center.
Using pre-built Lob Scenarios is typically an easier place to start than building one from scratch:
Sharing Scenarios
Blueprints are detailed plans for how a Scenario (low-code workflow) is set up and how it will work. This allows other stakeholders to understand the composition of your automation in detail, share it with other teammates, and troubleshoot when necessary.
Export a Make blueprint
-
From your scenario builder screen in Make, navigate and click on the “More” button (see below box with an ellipsis). Click “Export Blueprint.”

-
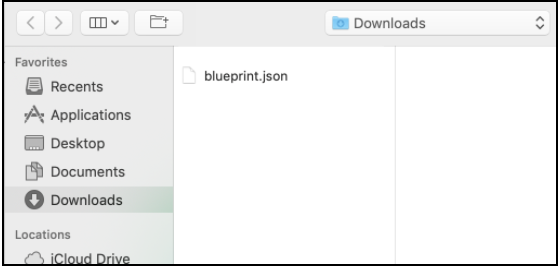
The ‘blueprint.json’ file will then be downloaded to your device’s folder.
Download/Import a Make blueprint
- In the scenario builder screen, click on the “More” button (same box as above). Click “Import Blueprint.”
-
When the Import Blueprint menu is launched, click on “Choose Files” and select blueprint.json from your files.
 →
→
- Once the file has been submitted to your Import Blueprint builder click on the “Save” button.
- Once complete, you will receive a confirmation banner along the bottom right side of your scenario builder screen.
Support information
Feel free to contact Make’s support team via their support form for issues on the Make side, or email support@lob.com for Lob-specific debugging!