Quickstart guide
Table of Contents
The following Quickstart guide allows you to jump in and explore the Lob Print & Mail API in your preferred programming language. (If you are a Typescript user, you can jump right in with a video tutorial: Sending a postcard with Typescript.)
You can also learn about our APIs via Postman, here is a video walk-through of Lob's Public Workspace.
Lob account basics
In order to follow this Quickstart guide, you will need:
- A Lob account
- Your API keys
- Settings → API Keys
- Read more about how Lob uses API Keys in our official documentation
Language setup guides
These brief sections are aimed at developers who are less familiar with the languages with which they will be working with Lob API. Currently, Lob provides client libraries in these languages:
TypeScript (NodeJS)
Follow the instructions on the TypeScript download page. For Windows, installing through the Visual Studio text editor is the best option.
Follow the download and setup instructions on the official Node.js website.
To make switching between Node versions easy, install nvm on your local machine, following the instructions in the official Node Version Manager GitHub repository. To get the latest LTS release, run:
nvm install --lts
Alternatively, Windows users should install the latest release of nvm-windows by following the instructions in its home repository.
DeleteRuby
Mac
Run ruby -v to check whether it’s pre-installed. If not, run brew install ruby (make sure to install Homebrew first if you haven’t already). Add the path for your version of Ruby to your environment’s PATH variable.
Windows
Download the appropriate version from Ruby’s official downloads page.
DeletePHP
Mac
Run php -v to check whether it’s pre-installed. If not, run brew install php (make sure to install Homebrew first if you haven’t already). Add the path for your version of PHP to your environment’s PATH variable.
Windows
Download the appropriate version from PHP's official downloads page.
DeleteInstalling Lob’s API client
This QuickStart guide provides a code example of Lob’s services: creating a postcard through Lob’s Print & Mail API. Make sure you are in the correct directory before running the code samples (creating one for the purpose of running these is advised, but not required).
Create a new directory and switch to it from your terminal app with these commands.
mkdir lob-qs
cd lob-qs
The next step is to install the version of Lob API which matches the language you are working in:
Python
Create a new virtual environment python3 -m venv venv
Activate the environment source venv/bin/activate
Install lob python from pypi pip install lob
PHP
curl -sS https://getcomposer.org/installer | php
php composer.phar require lob/lob-php
php composer.phar install
Java
In this guide, we will be using Maven.
From the command line, create a new maven project
mvn archetype:generate -DgroupId=com.company.app -DartifactId=my-app -DarchetypeArtifactId=maven-archetype-quickstart -DarchetypeVersion=1.4 -DinteractiveMode=false
Edit the pom.xml file in the my-app folder to include this bit of code:
 <dependencies>
  <dependency>
    <groupId>com.lob</groupId>
    <artifactId>lob-java</artifactId>
    <version>13.0.0</version>
  </dependency>
  ...
 </dependencies>
In the pom.xml file update the source and target to 1.8
 <maven.compiler.source>1.8</maven.compiler.source>
 <maven.compiler.target>1.8</maven.compiler.target>
Delete
Creating a postcard
Now that a Lob API wrapper has been installed on your local machine, we can begin by sending a request to the API with the data necessary for postcard creation.
Open the text editor of your choice (if you need to download one, we recommend Visual Studio Code) and paste the code in the language of your choice: (As a note, if the address in question has a suite or apartment number, you can add in a data point for it as such: -d "to[address_line2]=<OPTIONAL SECONDARY INFORMATION>")
TypeScript
In your working directory:
- Create a new file app.ts
- Copy and paste the code below into app.ts
- Replace <YOUR_TEST_KEY> with your Lob Test API Key in the code.
https://gist.github.com/lobot/cc590b271d48b6bfe8a89994a87816ef
In your typescript project folder:
Compile your code tsc app.ts Run your app:
node app.js Delete
Python
In your working directory:
- Create a new file app.py
- Copy and paste the code below into app.py
- Replace <YOUR_TEST_KEY> with your Lob Test API Key in the code.
https://gist.github.com/lobot/ce7ba932e3748fa349c01e3364e3e519
In your working directory:
Run your app:python app.py Delete
Ruby
In your working directory:
- Create a new file app.rb
- Copy and paste the code below into app.rb
- Replace <YOUR_TEST_KEY> with your Lob Test API Key in the code.
https://gist.github.com/lobot/29ba63774615b1e3a54715e50ef32bbc
In your working directory:
Run your app:ruby app.rb Delete
PHP
In your working directory:
- Create a new file app.php
- Copy and paste the code below into app.php
- Replace <YOUR_TEST_KEY> with your Lob Test API Key in the code.
https://gist.github.com/lobot/bcf8c6f12d83e0e78ae4c5e744efc414
In your working directory:
Run your app:
php app.php Delete
Java
In your new maven project:
- Locate the App.java file in main/java/com/company/app
- Copy and paste the code below into App.java
- Replace <YOUR_TEST_KEY> with your Lob Test API Key in the code.
https://gist.github.com/lobot/2dc3133d7ad47368f053cab73077ef1e
In your maven project folder:
Compile your code: mvn clean install Run your app:
mvn exec:java -Dexec.mainClass="com.company.app.App" Delete
Understanding the response
This is a sample of the postcard object you will receive upon sending a creation request. Some information breakdowns:
- As you can see, the to and from address objects have been expanded with more detail, including optional fields, creation and modification dates, and sanitized, verified address lines.
- The postcard object also includes a signed URL to a digital copy of the created postcard, as well as thumbnails in three different sizes of the postcard’s front and back.
- front_template_id and back_template_id are null in this particular object because we used inline HTML in the templates, rather than referencing a previously-saved HTML template.
- Because we did not specify a size, the postcard is the default size of 4in by 6in.
- Both the send date and the expected delivery date of the postcard are provided for transparency in the mailing process.
https://gist.github.com/lobot/8a3f2ad22c9e38d2572105d0583954db#file-qs-response
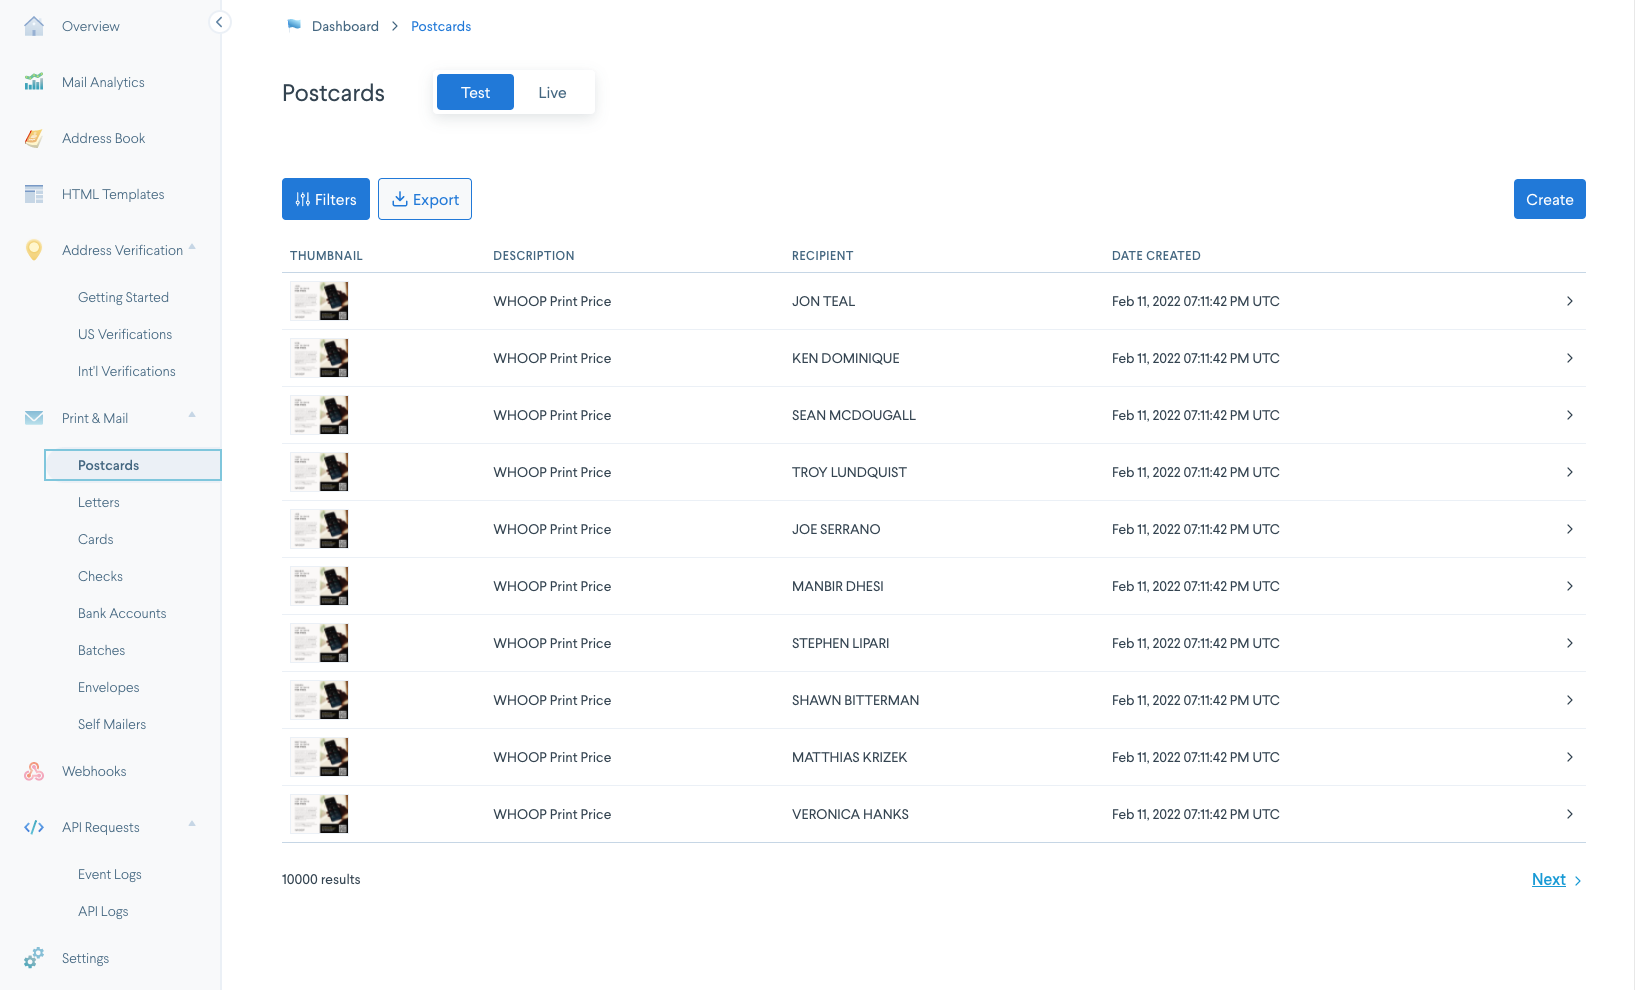
In order to see the postcards you have created, log into your Lob dashboard account and navigate to the “Postcards” tab on the left-side navigation menu. You can toggle between the ones you have created using either your test or live key:
Further resources
You can find Lob's API documentation here. For more comprehensive code examples for the different languages supported by Lob, see the individual GitHub repositories for each language:
- TypeScript (see also, Get started sending postcards with TypeScript video)
- Python
- Ruby
- PHP
- Java
- Elixir
- C#/.NET